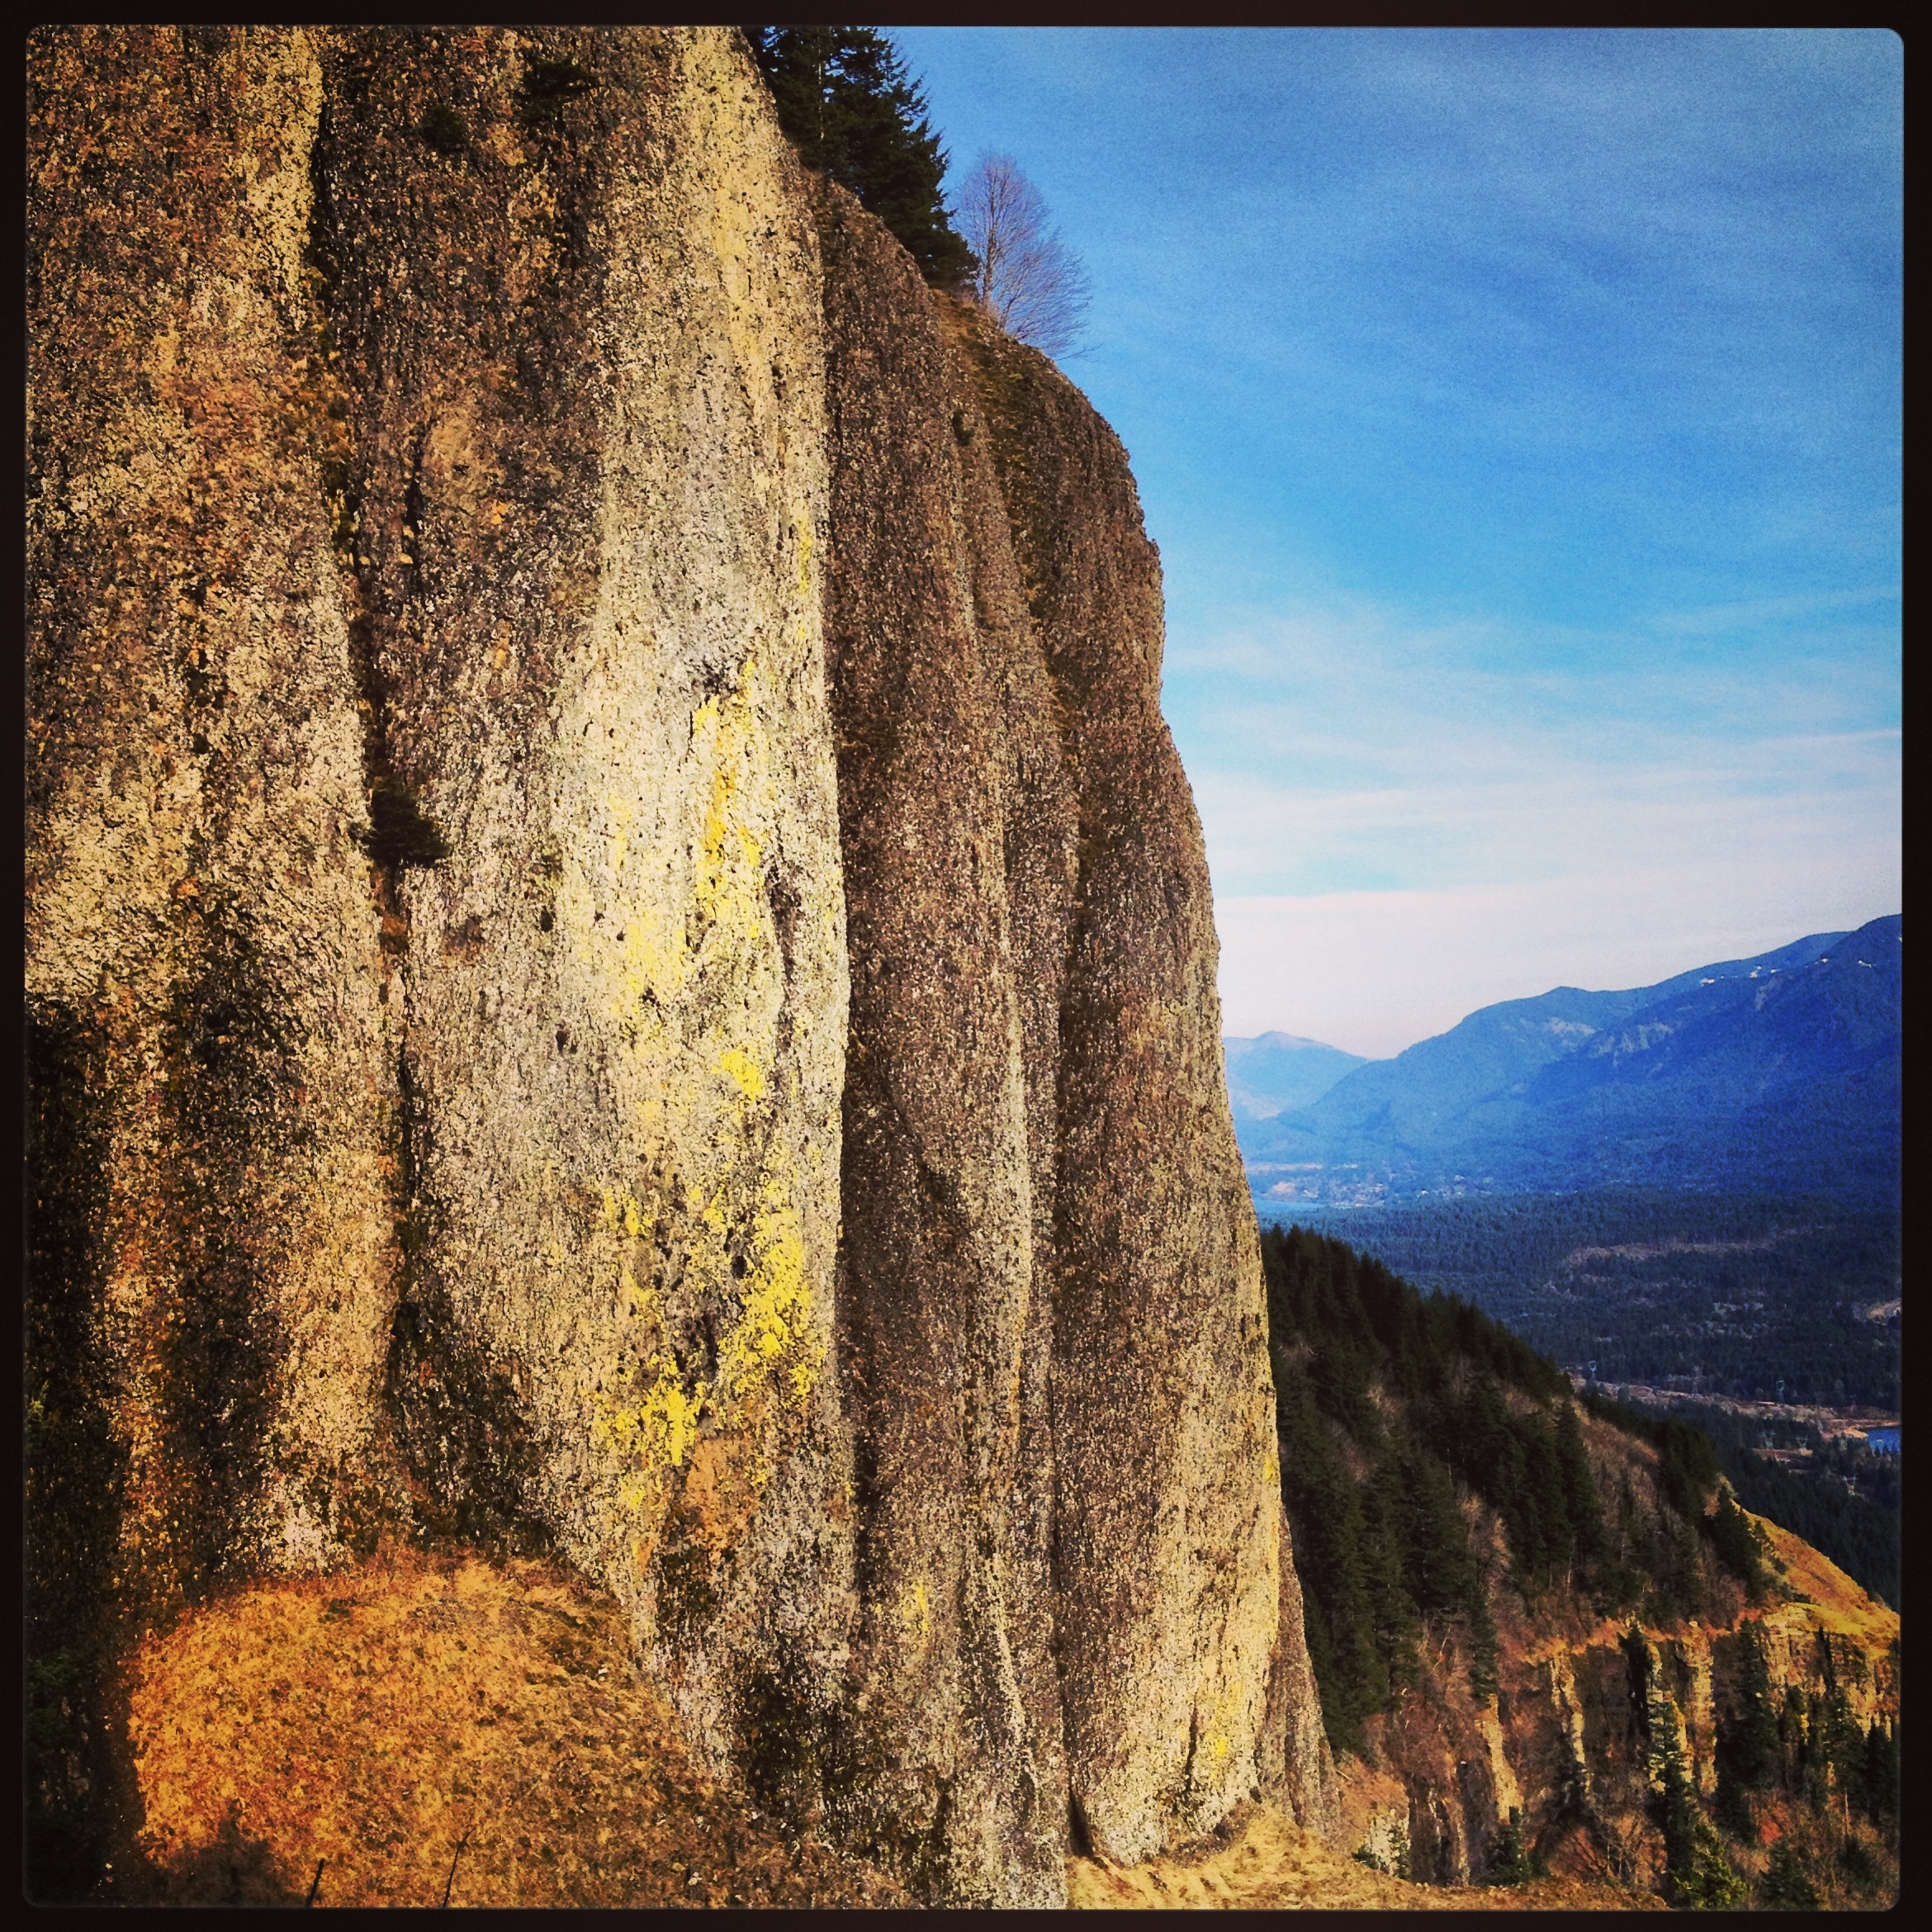
Back to Hamilton Madness Photo from Hamilton Madness ← Previous Photo 3 of 5 Next → All 5 photos from this hike Read the trip report